I'm an international teacher in Abu Dhabi. I am seeking new ways to support teachers. I am the face behind the Laney Lee science resources that you love!
Let me be real: I’ve taught middle school science in classrooms where chaos was the norm: behavior issues, no designated lab space, and not nearly enough time. The idea of pulling off a lab felt exhausting.
That’s exactly why I started creating science labs that are simple, engaging, and realistic for everyday classrooms.
This Egg Osmosis Lab is a total win. It gives students a hands-on, low-stress way to explore how water moves in and out of cells—a process called osmosis—while watching eggs dramatically change size and appearance. Using a de-shelled egg as a model of a cell, students place it in different solutions to see water flow in or out, making the egg swell, shrink, or stay the same.
Not only does this activity connect beautifully to life science standards (hello, NGSS MS-LS1), it also gets students thinking like real scientists: making predictions, observing changes, measuring mass, and constructing explanations using key scientific vocabulary.
And best of all? It’s teacher-friendly. Minimal prep. No fancy materials. And totally doable over a couple of class periods.
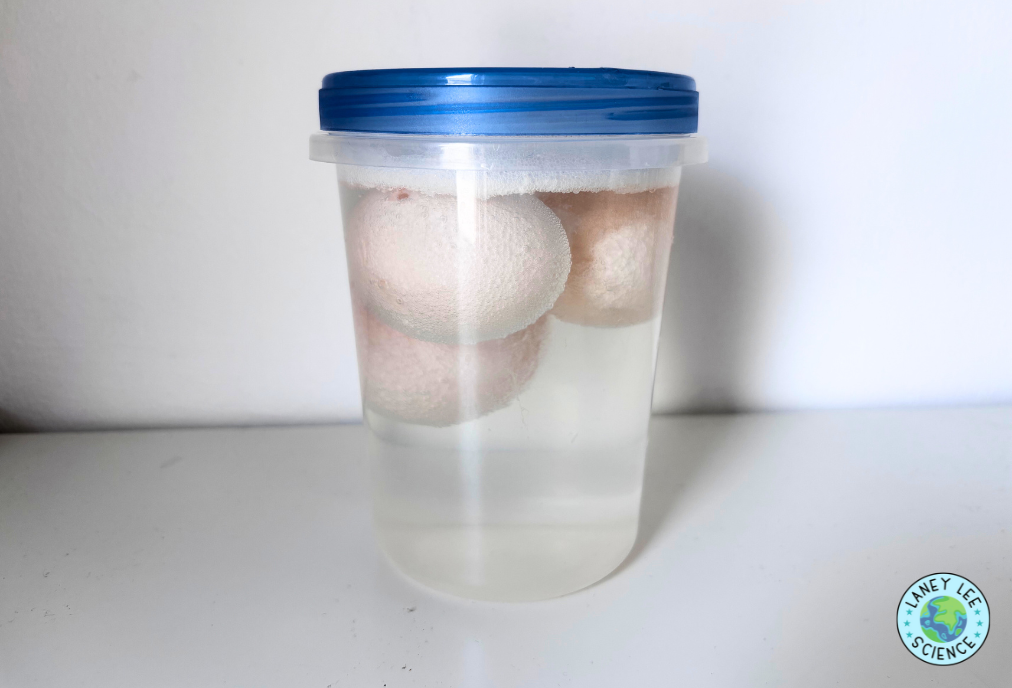
1. Prepare the eggs. Soak raw eggs in vinegar for 24–48 hours to dissolve the shells, leaving the membrane intact.
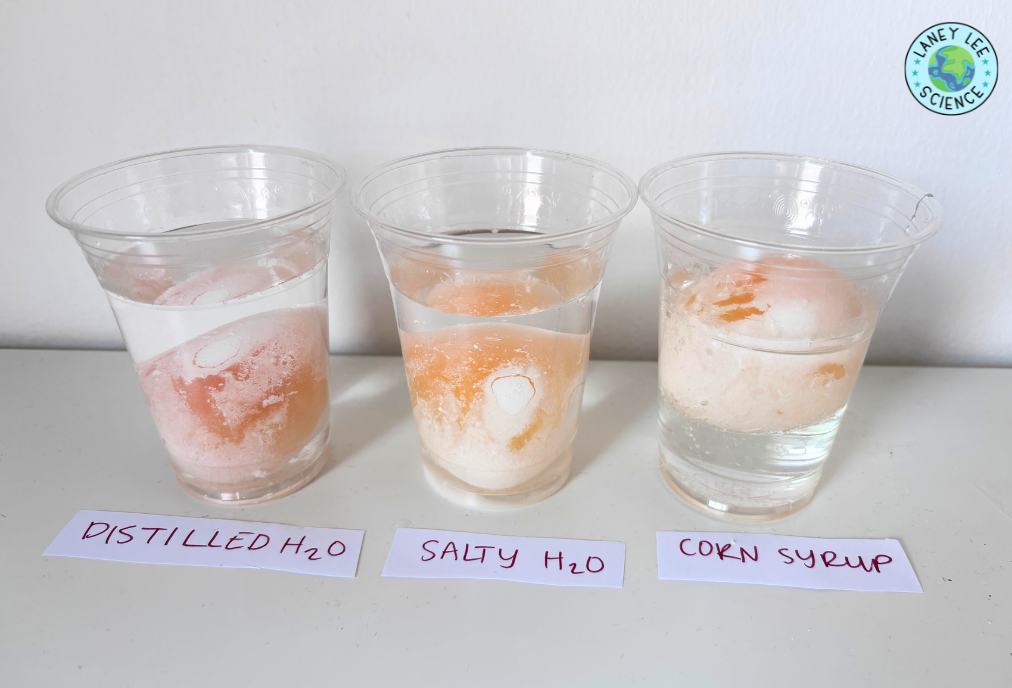
2. Set up the solutions. Label three cups: distilled water, corn syrup, and salt water. Measure and record the initial mass of each egg.
3. Place the eggs. Gently transfer one egg into each solution. Leave for 24 hours.
4. Observe and measure. Remove each egg, pat dry, and record the final mass and appearance.
5. Analyze the results. Compare mass changes and discuss how water moved across the membrane in each scenario.
Laney's Tips for Success
Plan for soaking time. You’ll need at least a day (ideally two) to dissolve the shells completely before students can begin.
Handle with care. The de-shelled eggs are delicate! Provide spoons or tongs to avoid accidental breaks.
Extend the learning. After the corn syrup trial, place the shrunken egg back in water to watch it plump back up. Students love seeing osmosis reverse in action.
Conclusion
By the end of this lab, students don’t just learn a definition of osmosis, they see it. Watching the eggs swell in water, shrink in corn syrup, and stay stable in salt water makes an abstract cellular process tangible. This experiment also sparks connections to real life: why we get thirsty after salty snacks, how cells maintain fluid balance, and why hydration matters.
It’s a powerful, low-prep way to bring a core life science concept to life, egg membranes and all.