I'm an international teacher in Abu Dhabi. I am seeking new ways to support teachers. I am the face behind the Laney Lee science resources that you love!
Looking for a physical vs. chemical changes lab that’s hands-on, low-prep, and actually works in a real middle school classroom? This engaging station-based activity helps students observe and identify different types of changes using everyday materials. Whether you’re working with a full lab setup or just a few plastic cups, this lab brings key science concepts to life—without the chaos.
My Mission in creating labs
Let me be real: I’ve taught middle school science in classrooms where chaos was the norm—behavior issues, no designated lab space, and not nearly enough time. The idea of pulling off a lab felt exhausting.
That’s exactly why I started creating science labs that are simple, engaging, and realistic for everyday classrooms.
This lab focuses on observing chemical and physical changes. It’s a student favorite because it feels hands-on and exploratory—but it’s also one of the easiest for teachers to manage. You’ll only need common materials (many from your kitchen or Amazon), and it works beautifully as stations or a teacher-led demo.
If you’re nervous about managing labs, I’ve got your back. I wrote this with you in mind. Keep reading to get all my tips and tricks for making this a smooth, exciting day for you and your students.
Need the student worksheet that goes with this lab? Grab it here!
Materials you'll need
This lab uses affordable, everyday items. Here’s a quick supply list:
Lemon juice
Apple slices
Baking soda (NaHCO₃)
Vinegar
Steel wool
Water (H₂O)
Ice cubes
Alka-Seltzer tablets
Hydrogen peroxide (H₂O₂, 3%)
Dry yeast
Sugar
Cornstarch
Iodine
Cups, plates, plastic spoons, droppers, paper towels
Procedure Summary
Students rotate through eight simple stations where they make before-and-after observations, record evidence, and decide if each change is chemical or physical
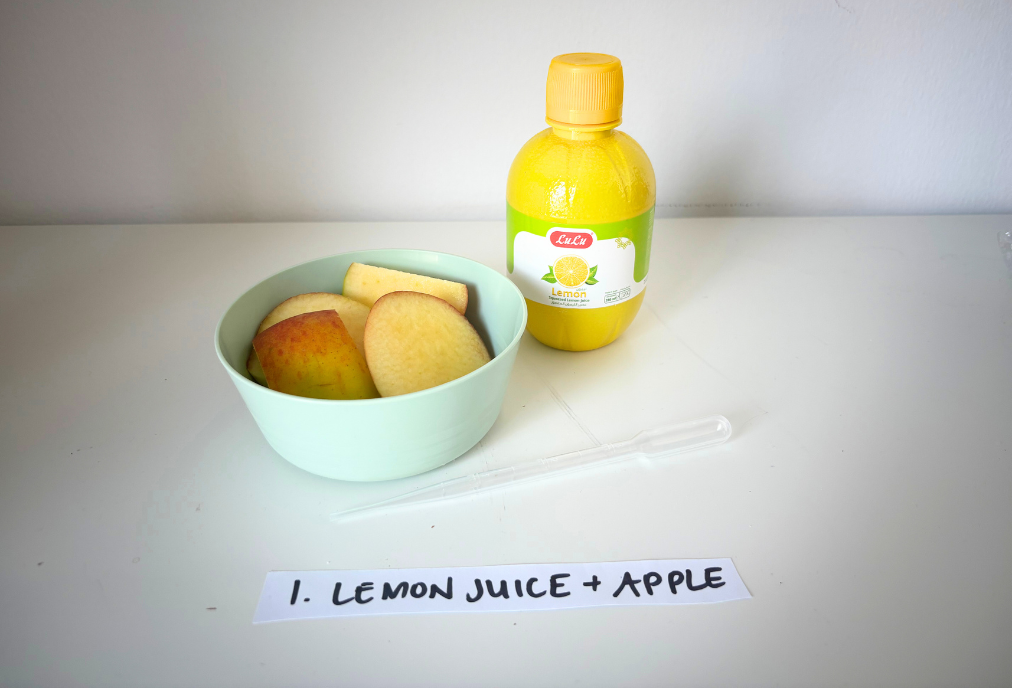
Station 1: Lemon Juice + Apple
Students compare browning in apples with and without lemon juice to see how oxidation works—and how acids can slow it down.
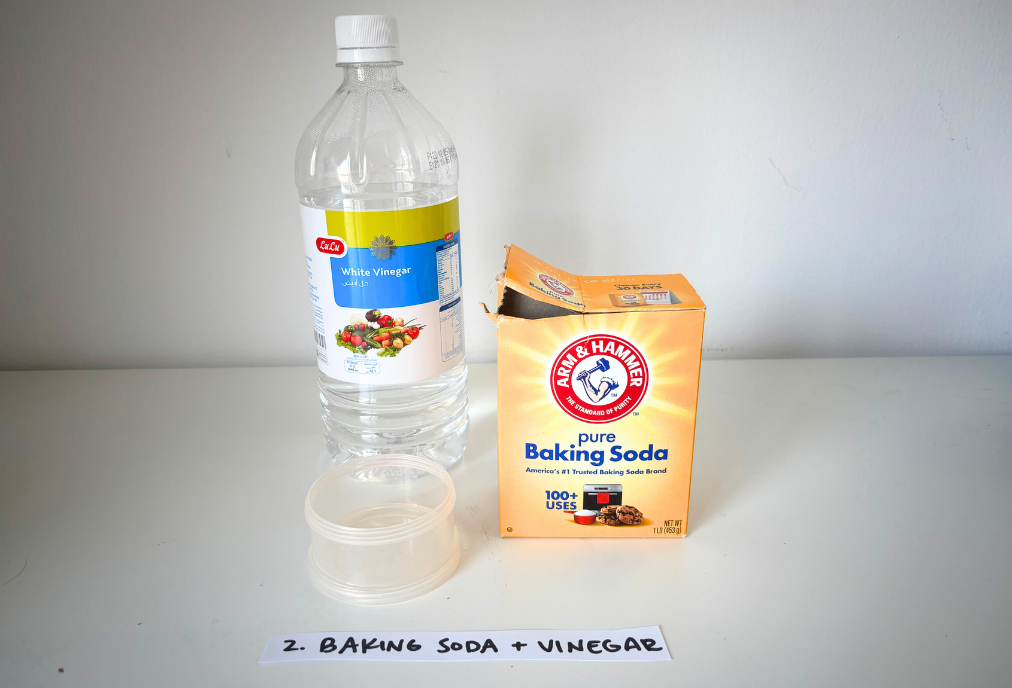
Station 2: Baking Soda + Vinegar
A classic! Students observe fizzing and bubbling as evidence of a chemical reaction.
Station 3: Steel Wool + Water
Rust takes time to form, so students check in on it periodically and notice the gradual color and temperature change.
Station 4: Ice + Room Temperature Air
A solid melts into a liquid—this is a great anchor for what a physical change looks like.
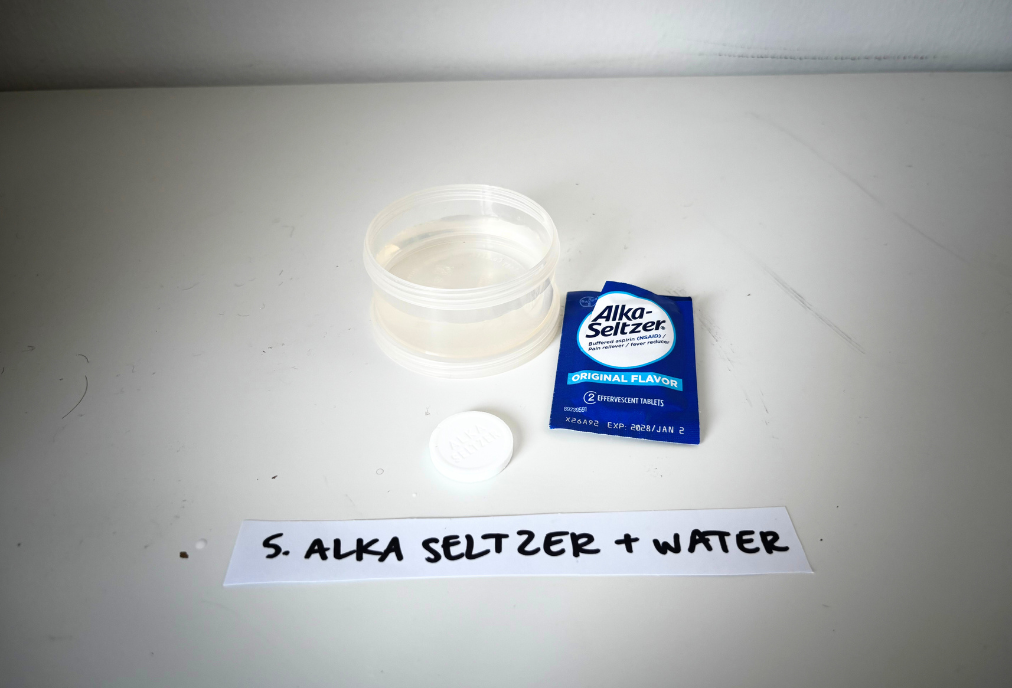
Station 5: Alka-Seltzer + Water
Pop, fizz, bubbles! This one’s fun and fast. Students observe gas production and identify the signs of a chemical change.
Station 6: Hydrogen Peroxide + Yeast
This creates an exothermic reaction with foamy bubbles. (Optional: add dish soap for a “mini elephant toothpaste” effect!)
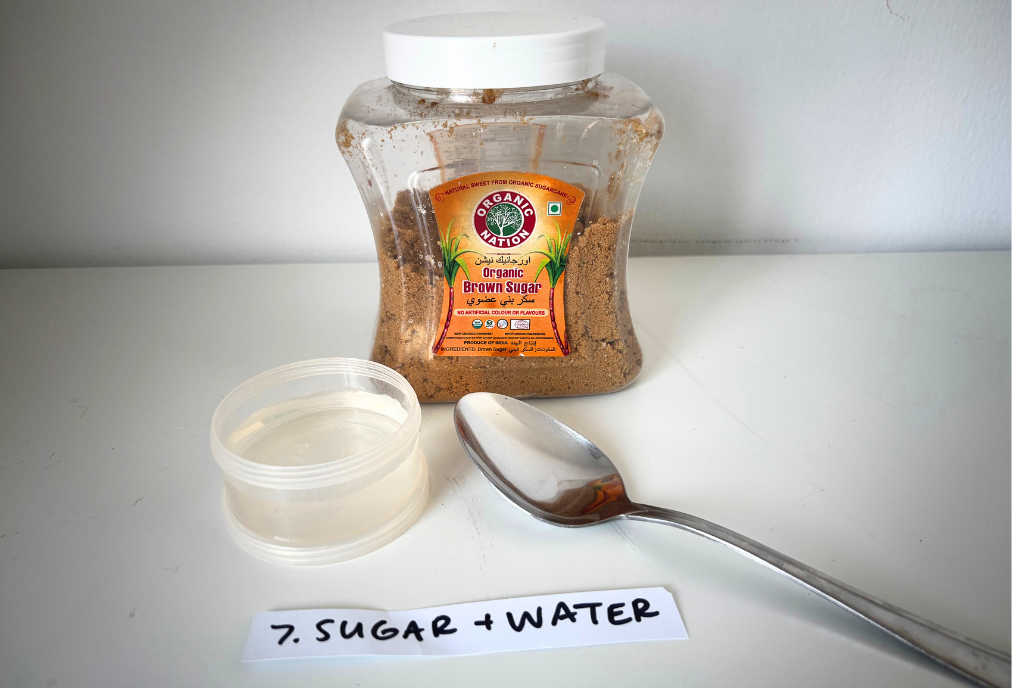
Station 7: Sugar + Water
Students watch the sugar dissolve. No reaction here—just a physical change.
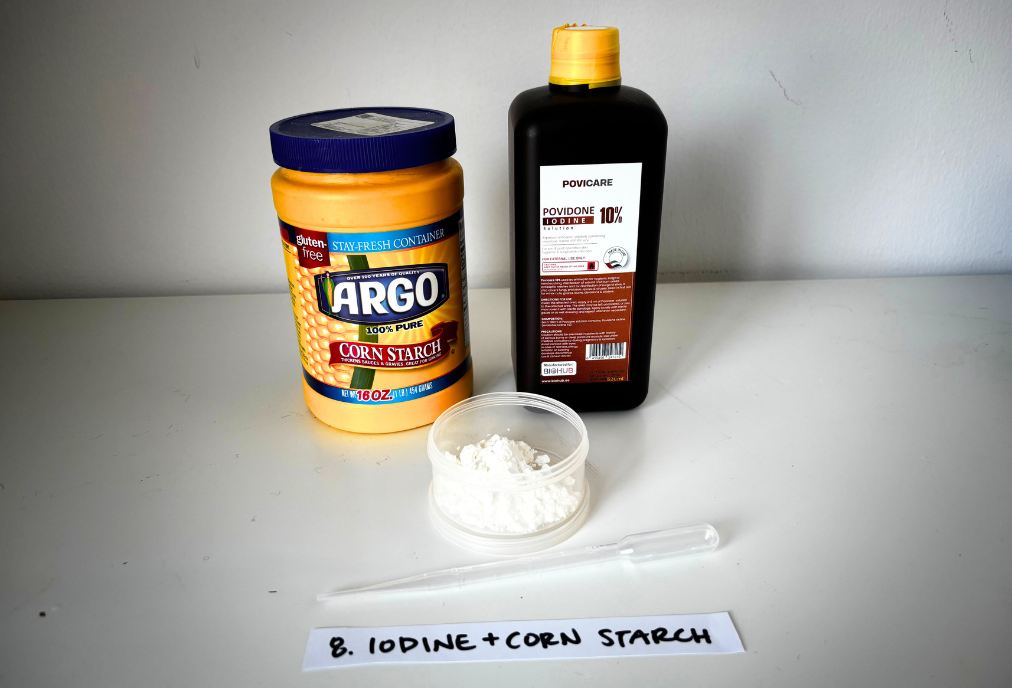
Station 8: Iodine + Corn Starch
A vivid color change indicates a chemical reaction between iodine and starch. Students love the instant transformation.
Laney's tips
Steel Wool Station: I found the steel wool surprisingly hard to break up. I had scissors, but they weren’t very effective. Consider cutting it in advance or pre-portioning.
Rust + Apple Oxidation Take Time: The steel wool and apple stations don’t show immediate results. I suggest setting them up in the morning and having students observe rather than “do” them. You can even include digital photo checkpoints or have students compare their observations throughout the day.
Trays Help with Mess Control: Place trays under each group’s station if you’re worried about spills—especially at the Alka-Seltzer or baking soda/vinegar tables.
Safety Goggles Are Smart: While most materials are kitchen-safe, I still recommend goggles—especially for stations with vinegar, iodine, or hydrogen peroxide.
Final thoughts
This lab is the perfect mix of simplicity and excitement. It gets students moving, thinking critically, and practicing the skill of making observations like real scientists. And best of all—it’s actually doable, even if your lab setup is just a stack of plastic cups and a roll of paper towels.
Want all the student worksheets, teacher directions, follow-up questions, and answer keys in one easy download? Get it here!