I'm an international teacher in Abu Dhabi. I am seeking new ways to support teachers. I am the face behind the Laney Lee science resources that you love!
Let me be real: I’ve taught middle school science in classrooms where chaos was the norm—behavior challenges, limited supplies, and definitely no fancy lab equipment. Trying to teach the water cycle in a way that’s actually hands-on and memorable? That used to feel impossible.
That’s exactly why I started creating science labs that are simple, engaging, and realistic for everyday classrooms.
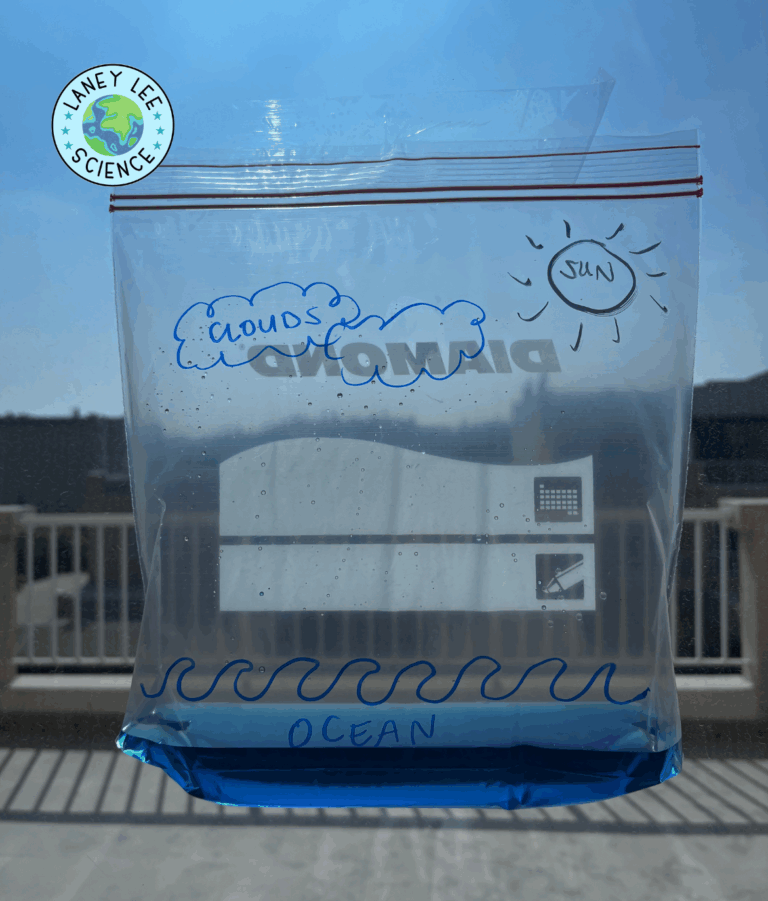
The Water Cycle in a Bag Lab is one of the easiest and most effective Earth science activities you can run. With nothing more than a plastic zip-lock bag, a sunny window, and a few drops of food coloring, students can watch evaporation, condensation, precipitation, and collection happen right before their eyes. It turns an abstract Earth systems concept into something concrete, visual, and totally student-friendly.
Not only does this lab align beautifully with NGSS MS-ESS2-4, it also helps students build a genuine model of Earth’s water cycle—driven by energy from the sun and pulled downward by gravity. Students will make predictions, record observations across multiple days, and analyze how temperature and sunlight affect the visibility and speed of each stage.
And the best part? It takes minutes to prep and works in any classroom, even without traditional lab space.
Part 1: Draw the Scene Students decorate their bags with waves, clouds, and the sun to help visualize the parts of the water cycle.
Part 2: Add Colored Water They mix a small amount of water with blue coloring, then pour it into the bottom of the bag.
Part 3: Seal and Hang The bag is sealed tightly and taped to a bright, sunny window or a warm location.
Part 4: Predict Students make predictions about what changes they expect to see. For example, where condensation will form, how quickly droplets will appear, and whether the total amount of water will change.
Part 5: Observe Over Time Over several days, students watch evaporation, condensation, precipitation, and collection unfold inside the closed bag. They record daily observations using vocabulary like evaporation, condensation, precipitation, and collection.
Part 6: Analyze the Model Students reflect on how energy from the sun drives the cycle and how gravity pulls droplets downward, comparing what they observed in the bag to the real-world water cycle.
Laney’s Tips for Success
Use warm water to help the cycle start faster.
Place bags on the sunniest window you have.
Have students outline droplets with a marker during observations to track changes in size and location over time.
Run this as a multi-day routine. Checking the bag becomes a great bell ringer or warm-up.
Connect it to local weather. Have students compare their bag to what’s happening outside each day.
Conclusion
The Water Cycle in a Bag Lab is a classroom gem. Simple, visual, low-prep, and incredibly effective for helping students understand how water moves through Earth’s systems. With this easy model, learners can identify evaporation, condensation, precipitation, and collection while seeing firsthand how sunlight and temperature drive these processes. Whether you’re introducing the water cycle or reinforcing Earth systems concepts before testing, this lab delivers clear, memorable learning every time.