I'm an international teacher in Abu Dhabi. I am seeking new ways to support teachers. I am the face behind the Laney Lee science resources that you love!
Let me be real: I’ve taught middle school science in classrooms where chaos was the norm—behavior issues, no designated lab space, and not nearly enough time. The idea of pulling off a lab felt exhausting.
That’s exactly why I started creating science labs that are simple, engaging, and realistic for everyday classrooms.
This starburst rock cycle lab is a total win. It hits major Earth science concepts: weathering, erosion, heat, pressure, and the formation of sedimentary, metamorphic, and igneous rocks. And it’s hands-on in the best possible way—students love working with candy, and you’ll love how well it brings the rock cycle to life.
Not only is this lab rooted in solid science content (hello, NGSS), but it also gets students thinking like geologists: modeling Earth processes, tracking changes, and describing how energy moves matter over time. It reinforces vocabulary that students often struggle with: sediment, compaction, metamorphic, igneous, melting, and cooling.
And best of all? It’s teacher-friendly. Minimal prep. No fancy materials. And totally doable in a single class period.
If you’re nervous about managing labs, I’ve got your back. I wrote this with you in mind. Keep reading to get all my tips and tricks for making this starburst rock cycle lab a smooth, sweet day for you and your students.
You’ll only need a few basic supplies per student or small group:
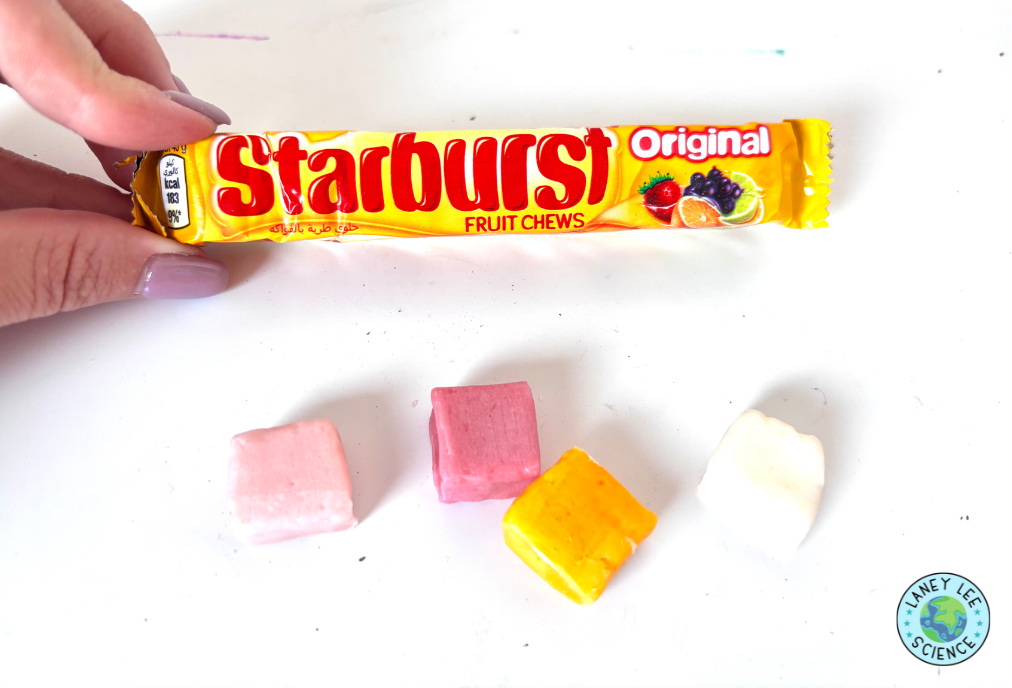
3 different-colored Starbursts
Wax paper or paper towel
Plastic knife or scissors
Heavy book or wood block
Heat source (hair dryer, warm lamp, or teacher demonstration with hot water)
Optional: freezer or fridge for quick cooling
PROCEDURE SUMMARY
Here’s a quick look at the process your students will follow:
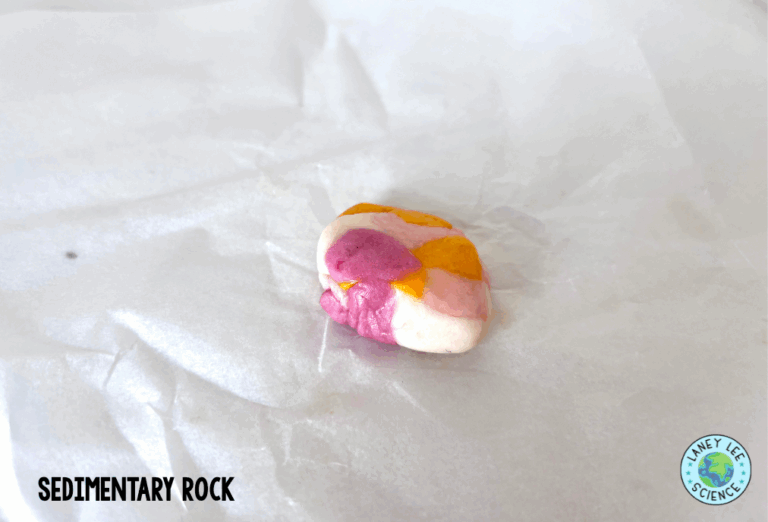
1. Sedimentary rock: Students cut their Starbursts into small bits to simulate sediments. Then, they press them together using wax paper and a book to model compaction and cementation.
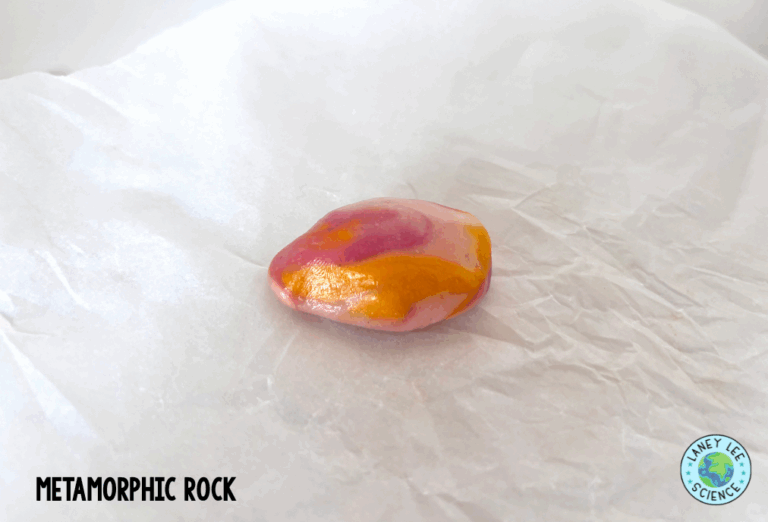
2. Metamorphic rock: The sedimentary candy rock gets wrapped in foil, gently heated, and pressed again. This simulates heat and pressure, forming a metamorphic rock.
3. Igneous rock: Finally, the metamorphic rock is melted (with teacher guidance!) and then cooled, representing the formation of igneous rock.
Each step mirrors part of the rock cycle in a way that students can touch, see, and understand.
LANEY'S TIPS FOR SUCCESS
Use wax paper to avoid sticky fingers and candy stuck to desks. Trust me, it makes cleanup way easier.
Demonstrate each stage before students begin. Modeling expectations = smoother lab time and fewer questions.
Set expectations about behavior early. Yes, it’s candy, but no, they can’t eat it (until you say so).
Make vocabulary visible during the lab (on the board or a reference sheet) to encourage science talk and reinforce key terms.
Skip the heat if needed! In my trial run, the candy was soft enough that I didn’t need heat at all to simulate metamorphic or igneous rocks. You can simply talk through the “heat” metaphorically if you don’t have a safe warming option.
FINAL THOUGHTS
This starburst rock cycle lab is everything I want a science lab to be: hands-on, NGSS-aligned, low-prep, and full of meaningful learning. It makes abstract geology concepts concrete (and colorful), keeps students engaged, and adds a little fun to your Earth science unit.
If you’ve been hesitant to tackle the rock cycle in a lab setting, this one’s your sign to go for it. Your students will love it, and you’ll love how much they get it by the end.